It all started with this Logitech Clearchat Wireless headset:Few years old headset, casing and frame was crumbling apart.
This headset, also known for a design mistake which causes the left headphone to cut and eventually go silent (it's just wire wearing and getting cut, see this), is quite good in terms of audio quality. So it would have been shame to throw it away, despite it was already old and I could've afford a new pair (from some other manufacturer). Since I had already opened it up a few times fixing the cutting left phone I had some kind of idea what was inside, so I decided I'd find some cheap wired headset and put the electronics from the old one inside the new pair. Time flew and I just couldn't find suitable headset, until I looked at the Peltors below on another occasion. They were soundproof, had lot of space inside and were relatively cheap.
Peltor ear protection set disassembled.So the project started slowly to proceed. I had already most of the tools:
Soldering iron
Drill with grinding heads
Small vise
Various screwdrivers
And that was about it. Some small stuff like wires, connectors and glue was also needed.
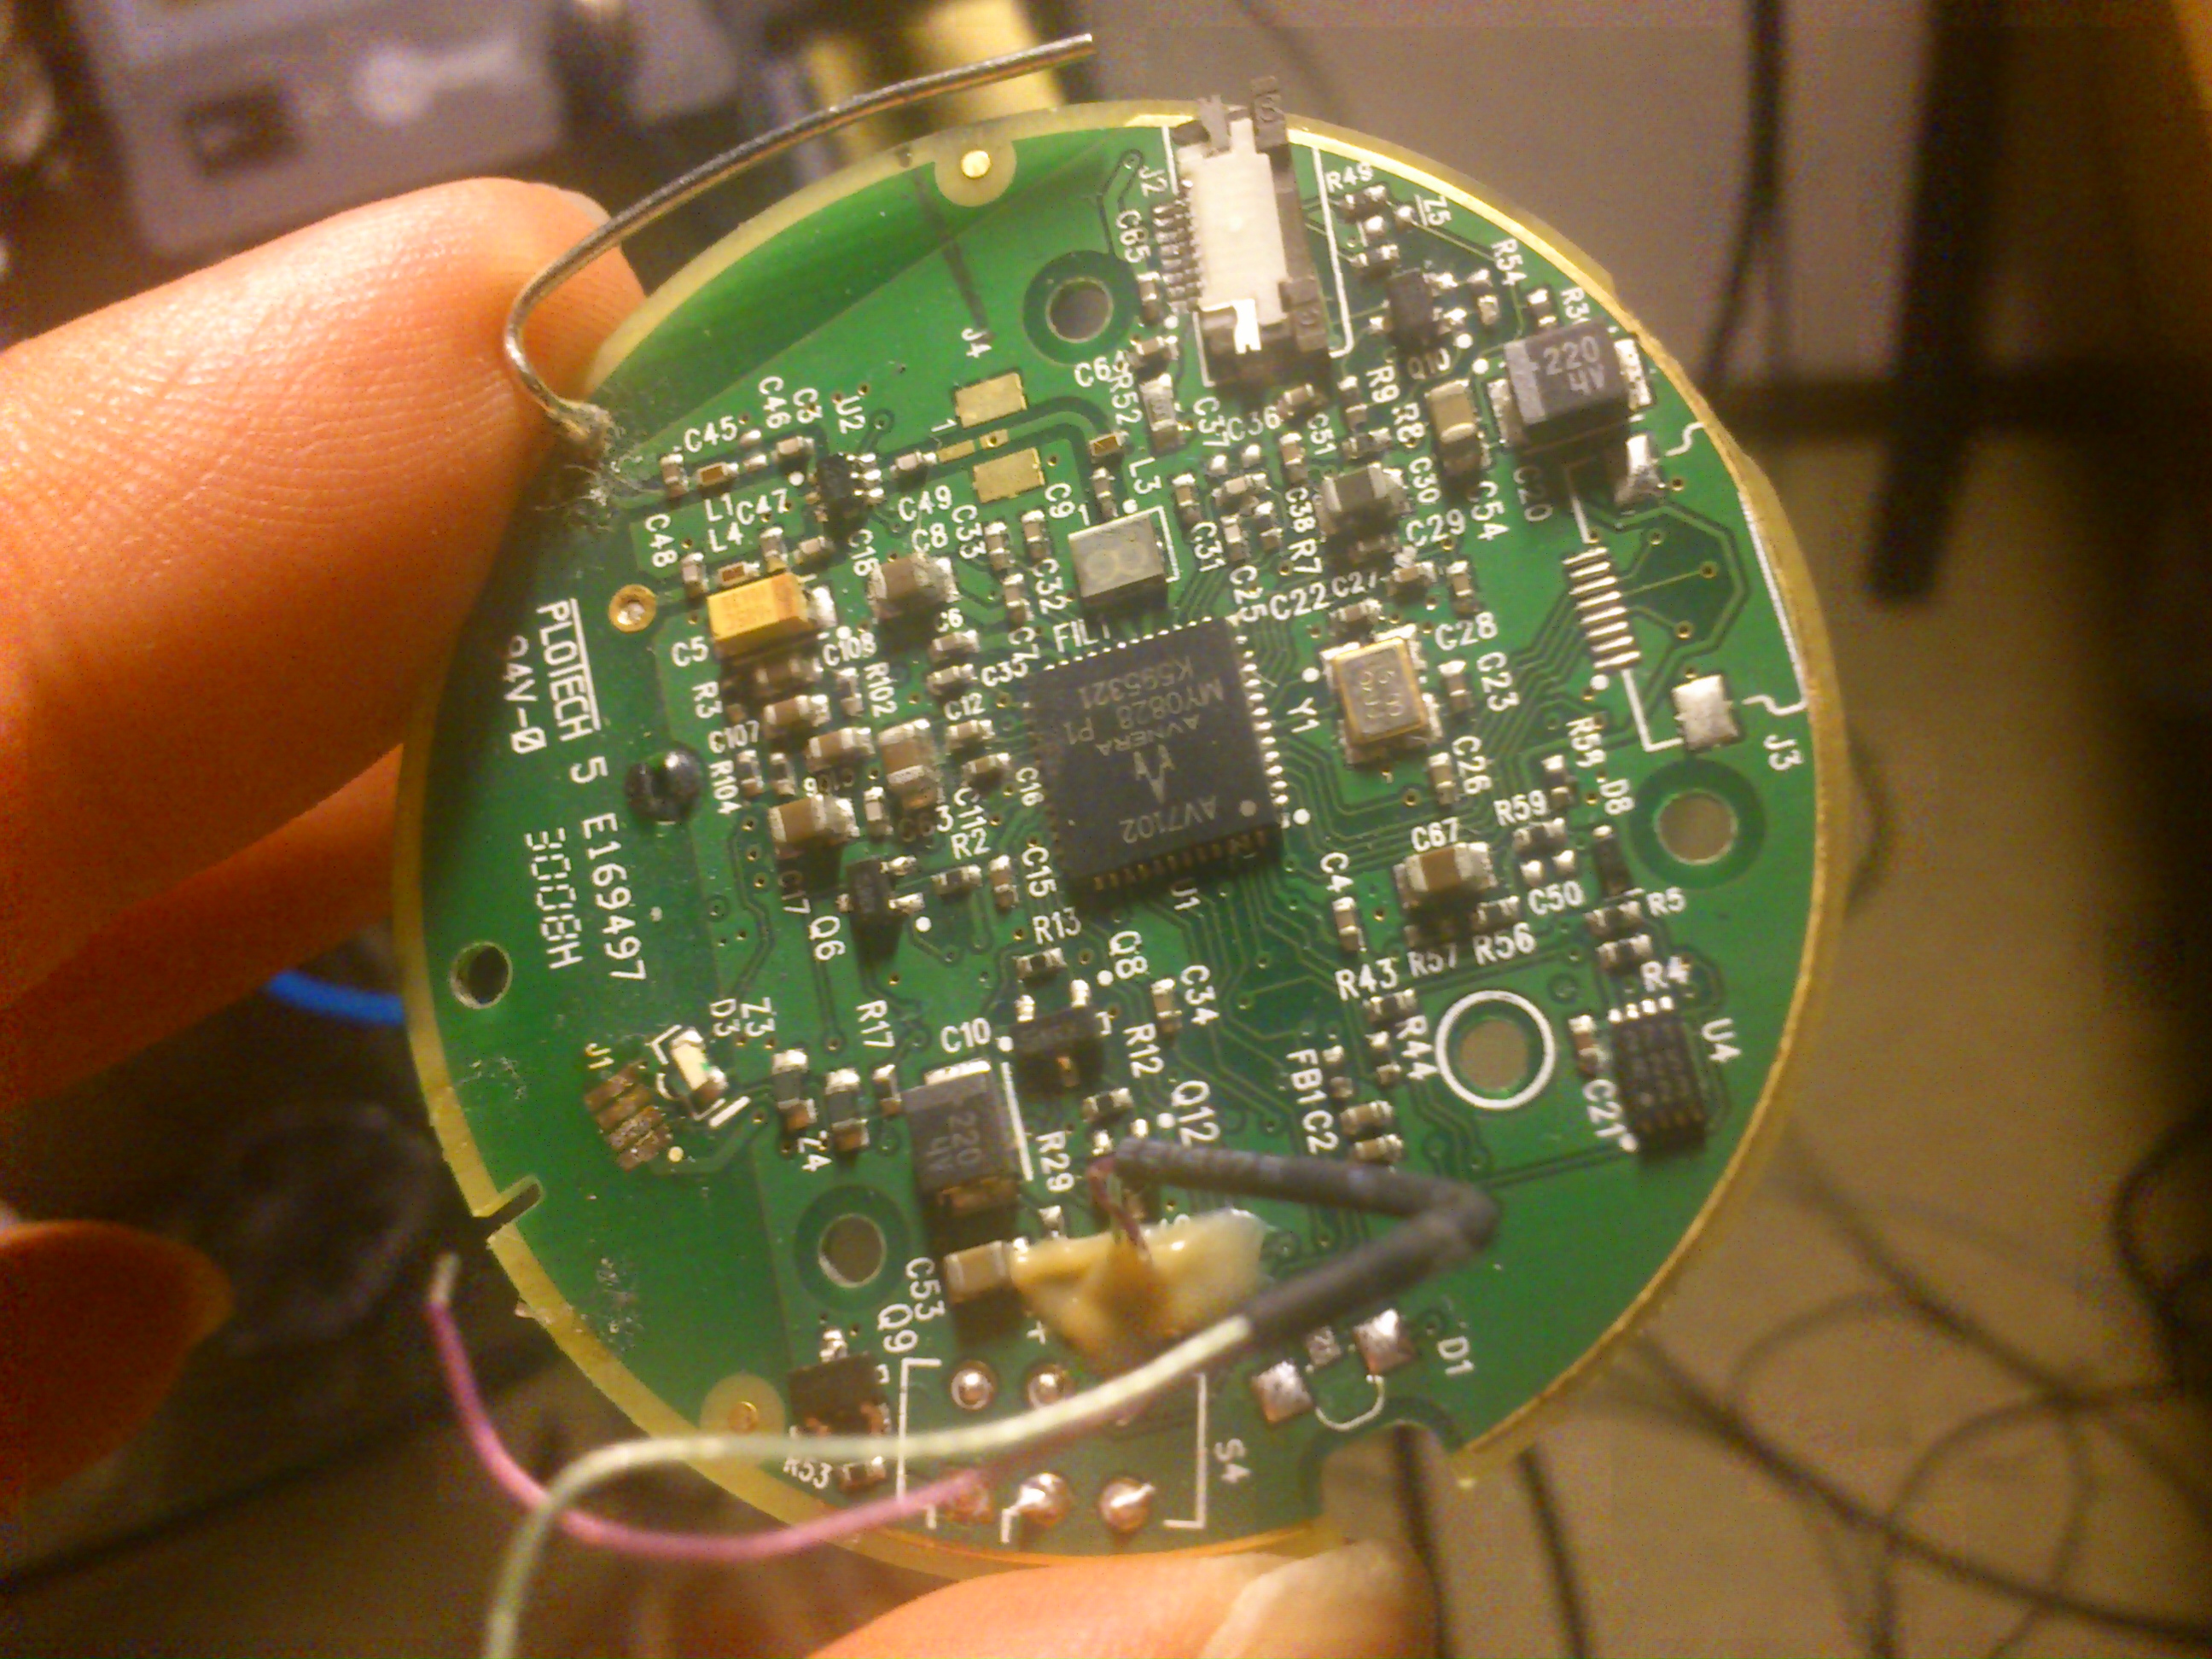
Here's some pictures of the old headset being opened up:
The PCB is pretty dense on components and since you only have the silkscreen markings it's quite a pain to figure what goes where, since it's a 4-layer board. I just used a multimeter to find out how the 8-pin connector (on top, white block) connects to some places which are easier to solder without fear of short-circuits.
 the other side of the board there was number of test points, labeled "TP#", and most of the connectors pins were connected to one of the test points.
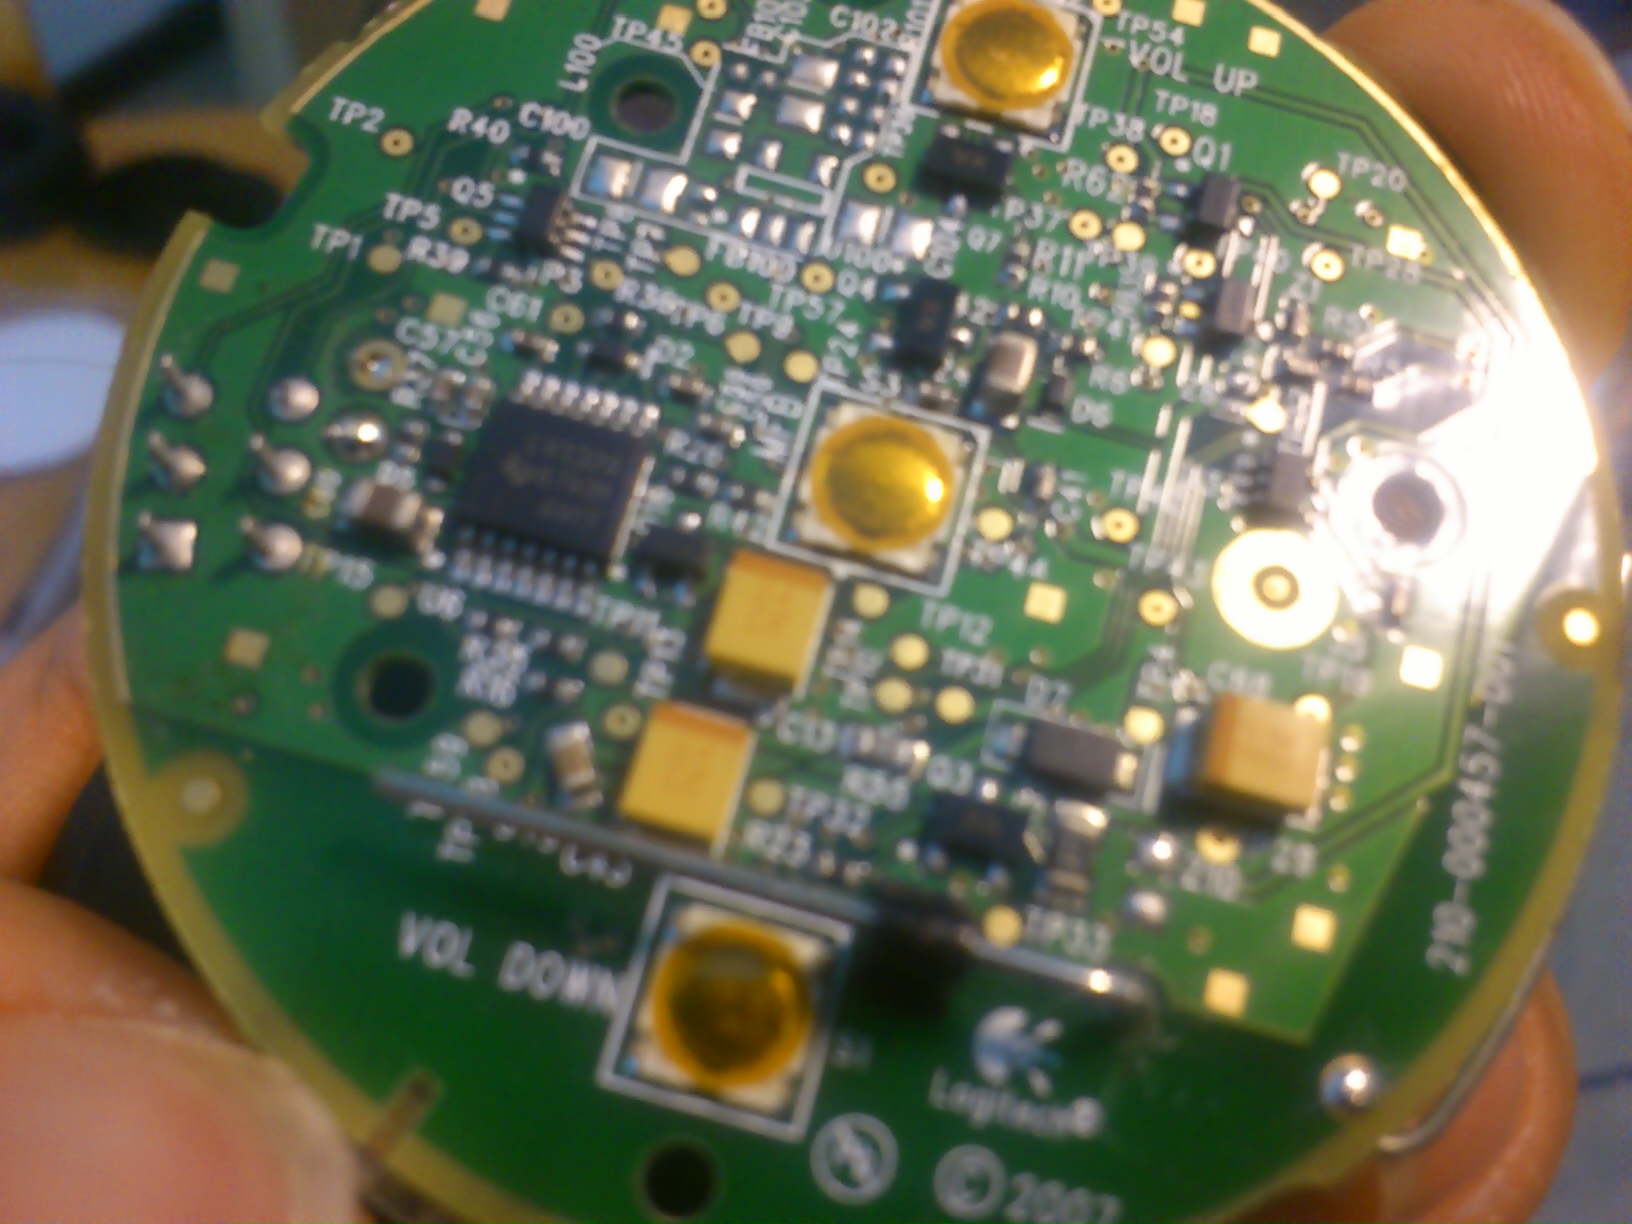 The right headphone side is much simpler, since there is basically no electronic components there, just wires connecting.
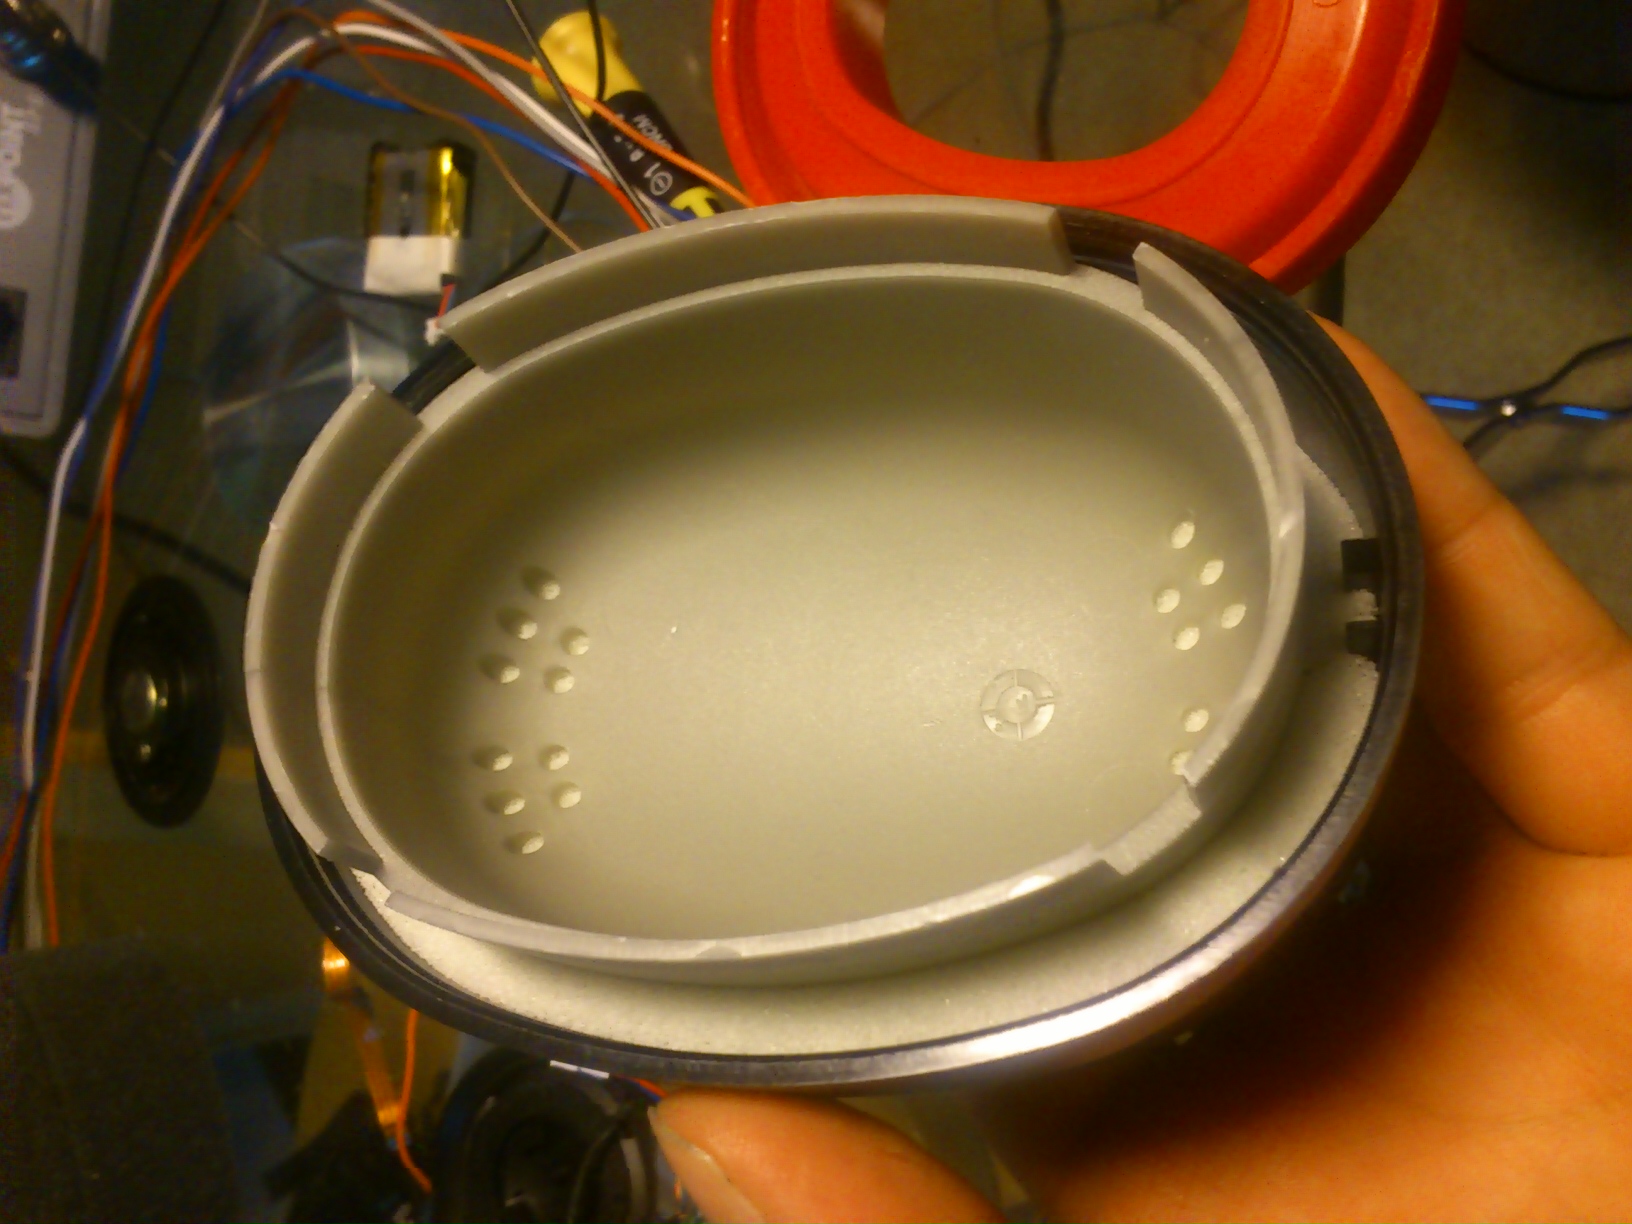
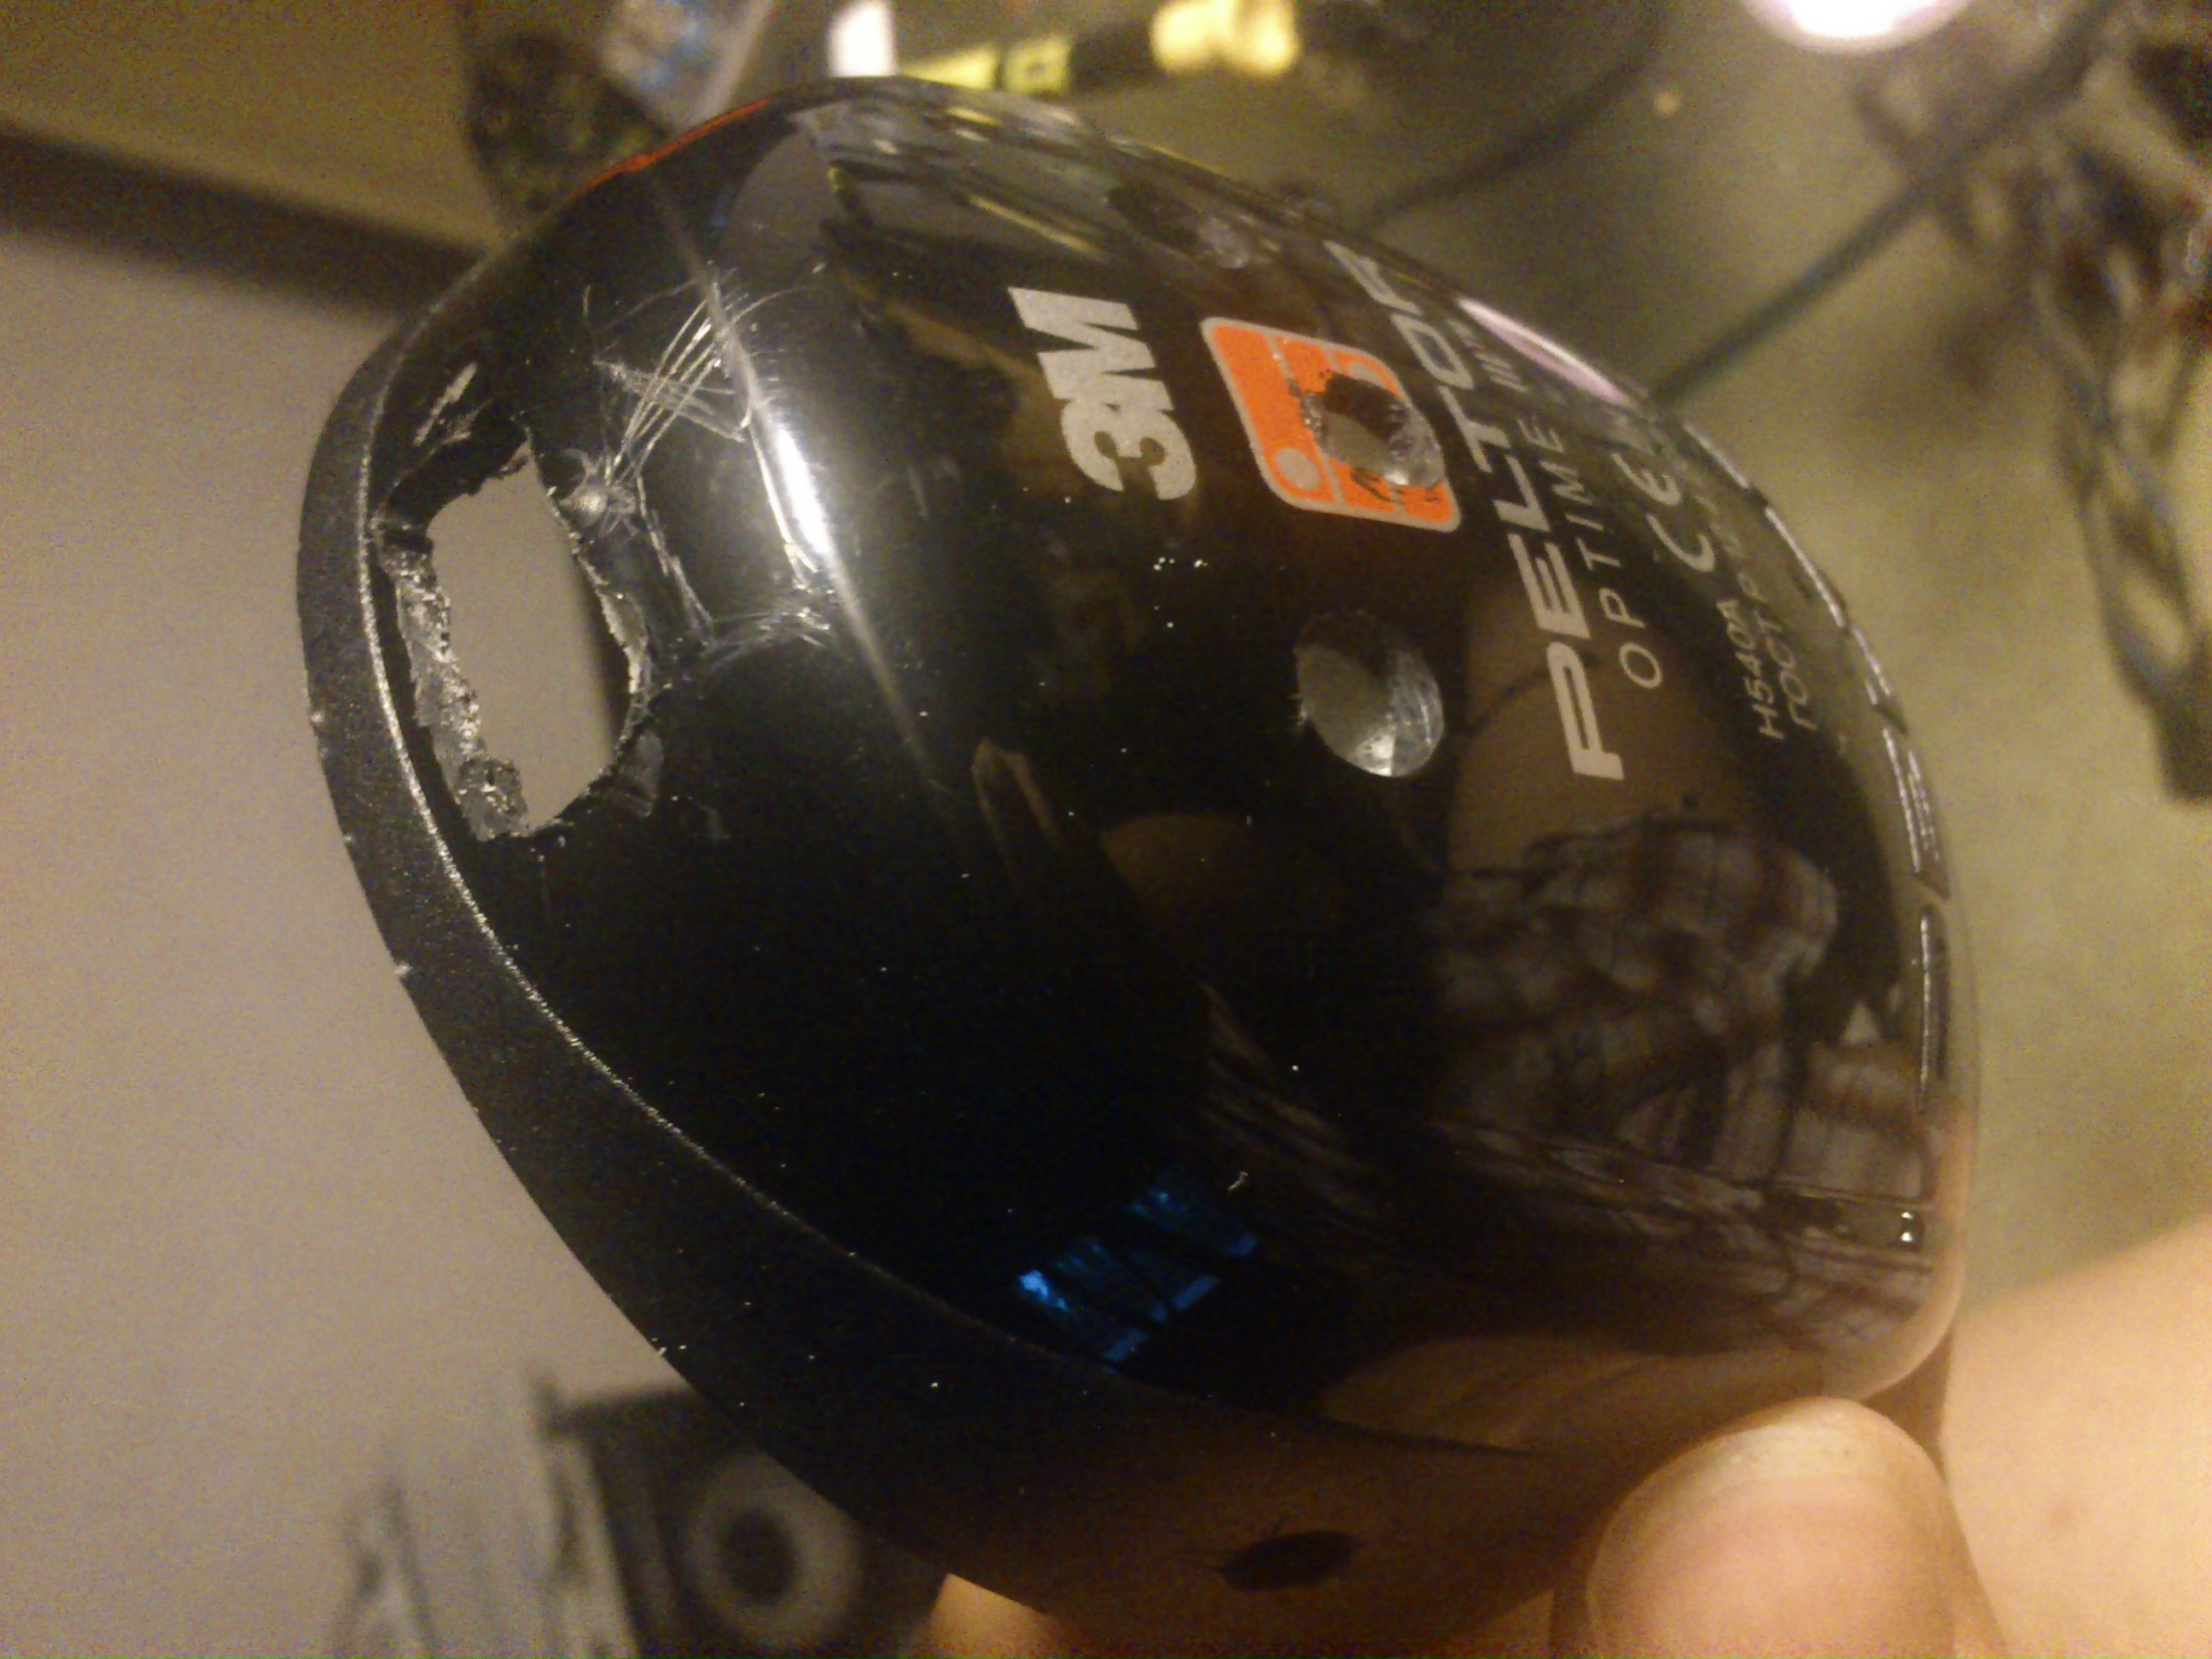
The ear protector cups had two layers, which was a challenge but also a boon, since I could attach buttons and connectors to the inner layer so they are firmly there and don't give in when trying to push the connectors together.
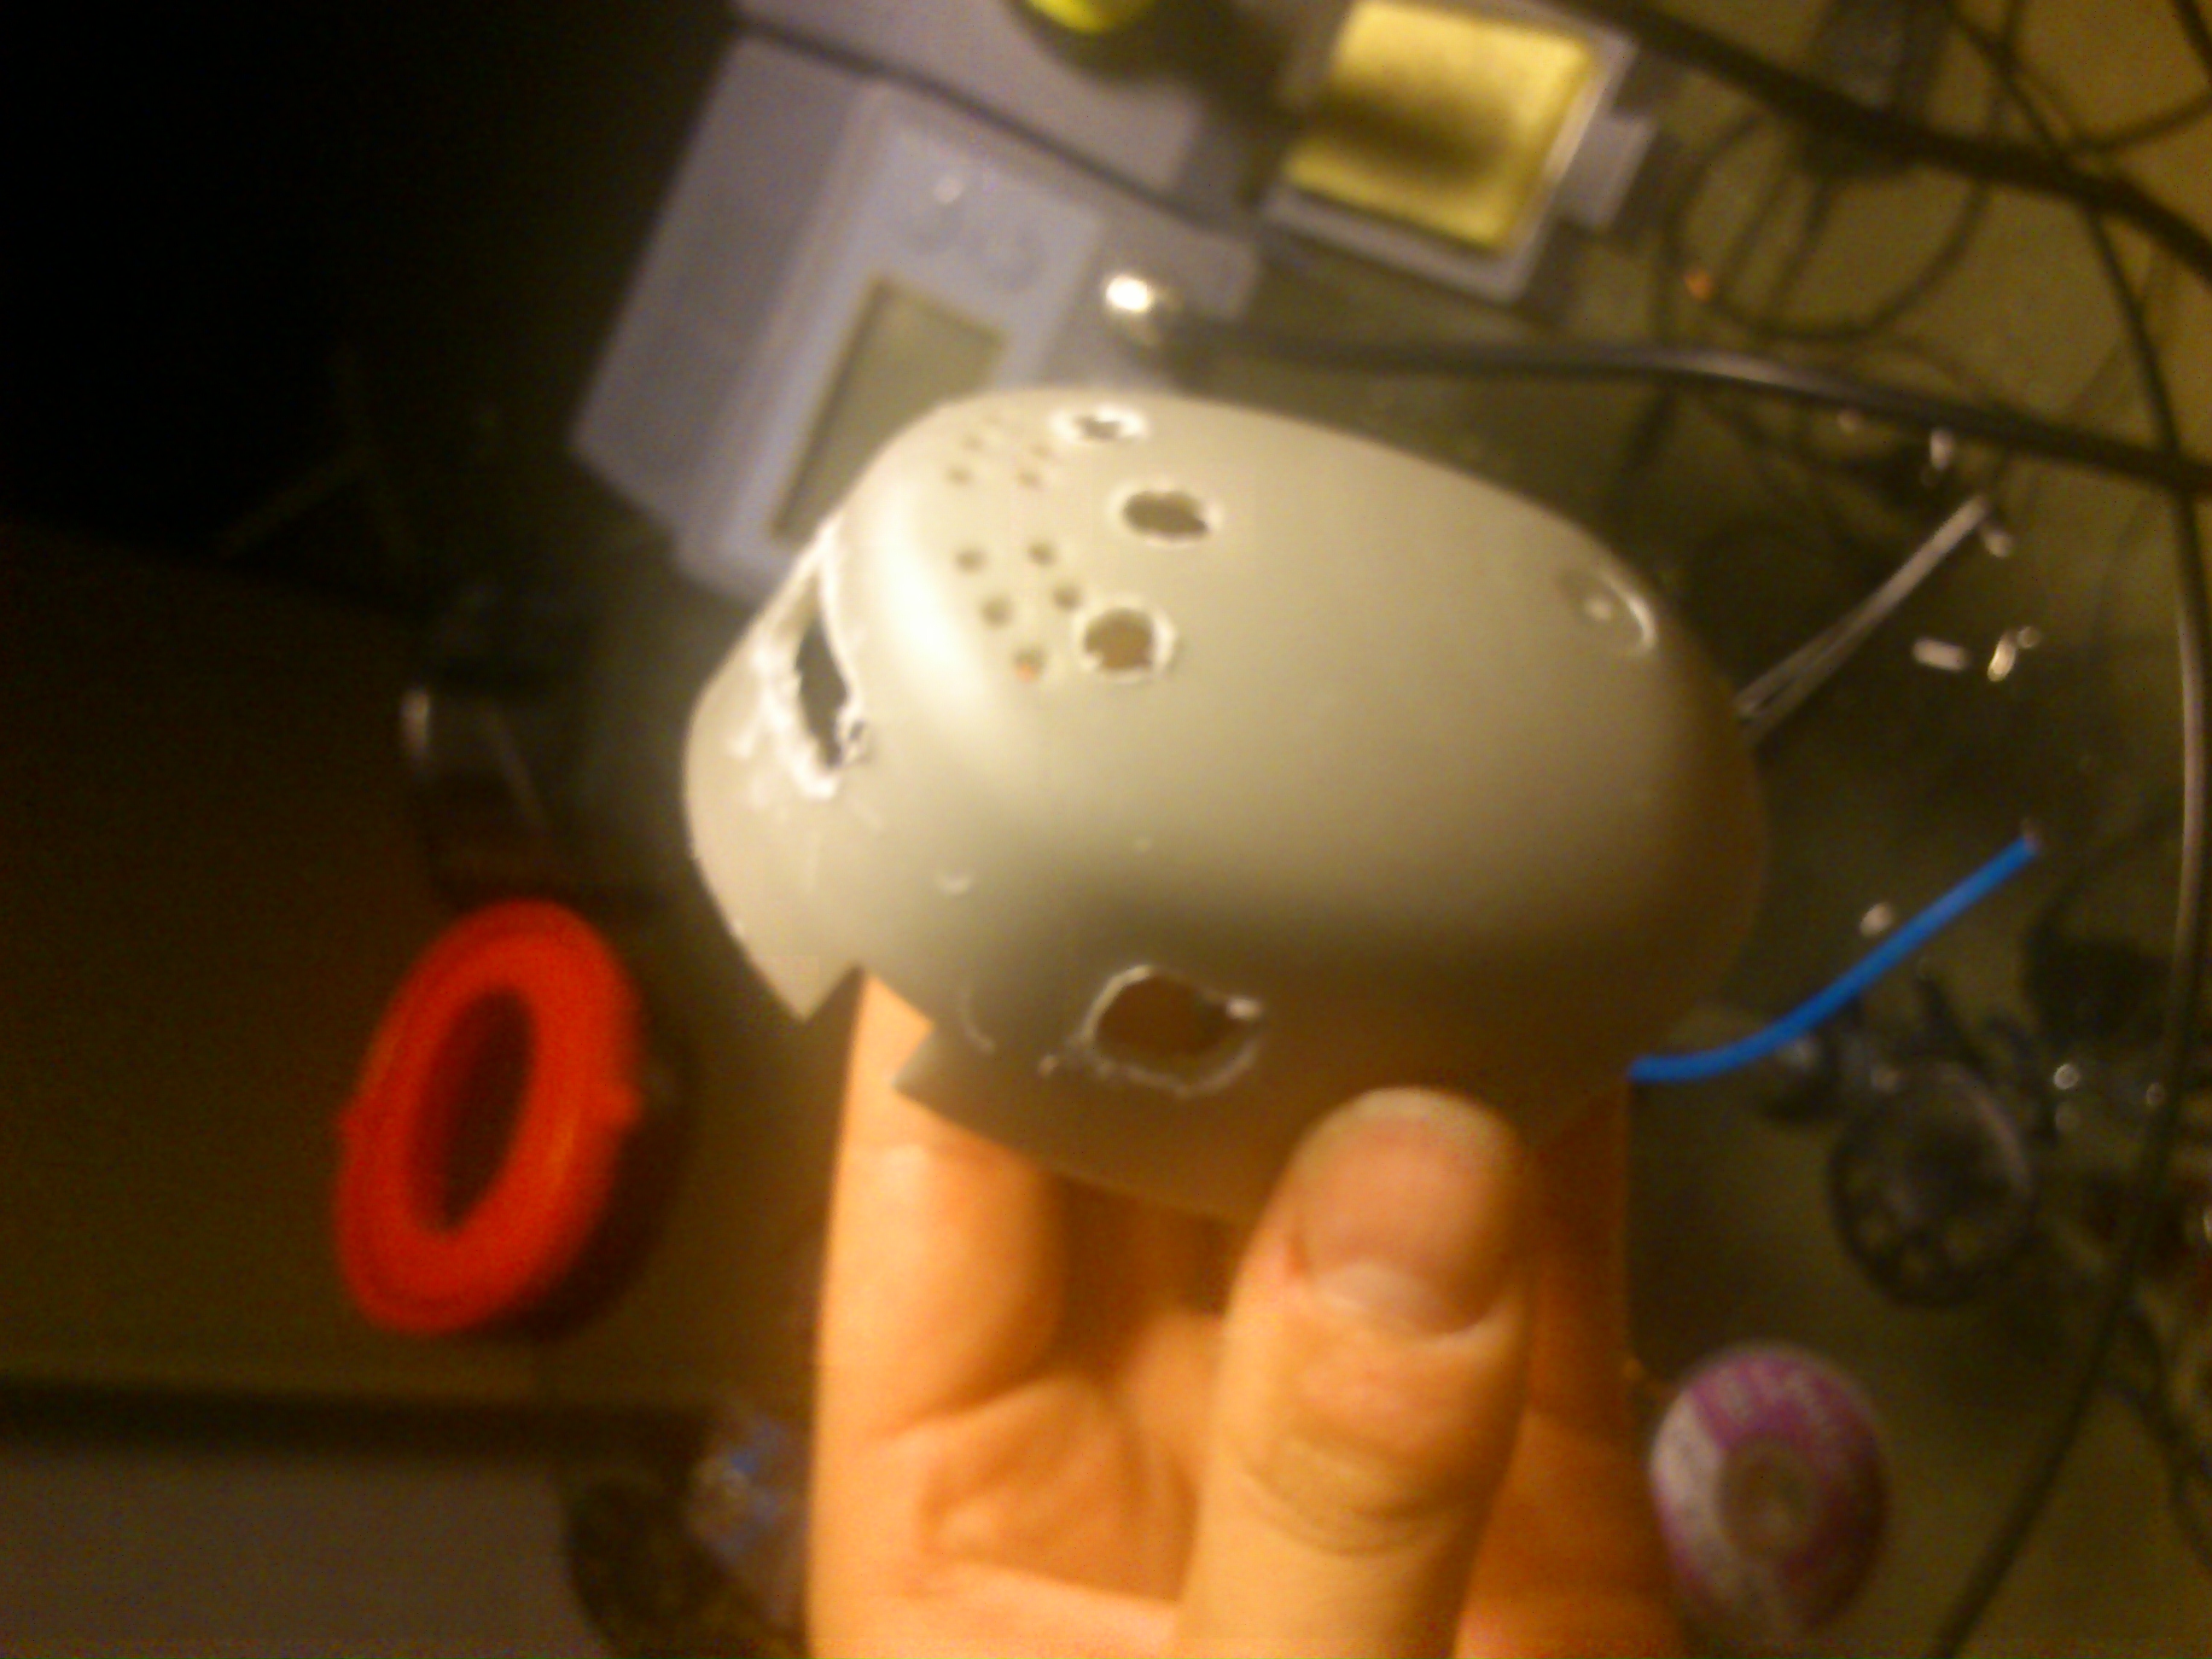
 I modified the ear cups by drilling holes for wires and buttons and connectors like below:
So, after testing out the correct connections, I replaced the flat connector with a general pin header with individual wires soldered and twisted around each other. Unfortunately, the microphone stopped working for some reason, I might have connected some voltage inversed to the mic which broke it. I gave up on it, since it was rather impossible to debug it without an oscilloscope. So I put the rest together, and got rather nice wireless headphones instead of a headset.
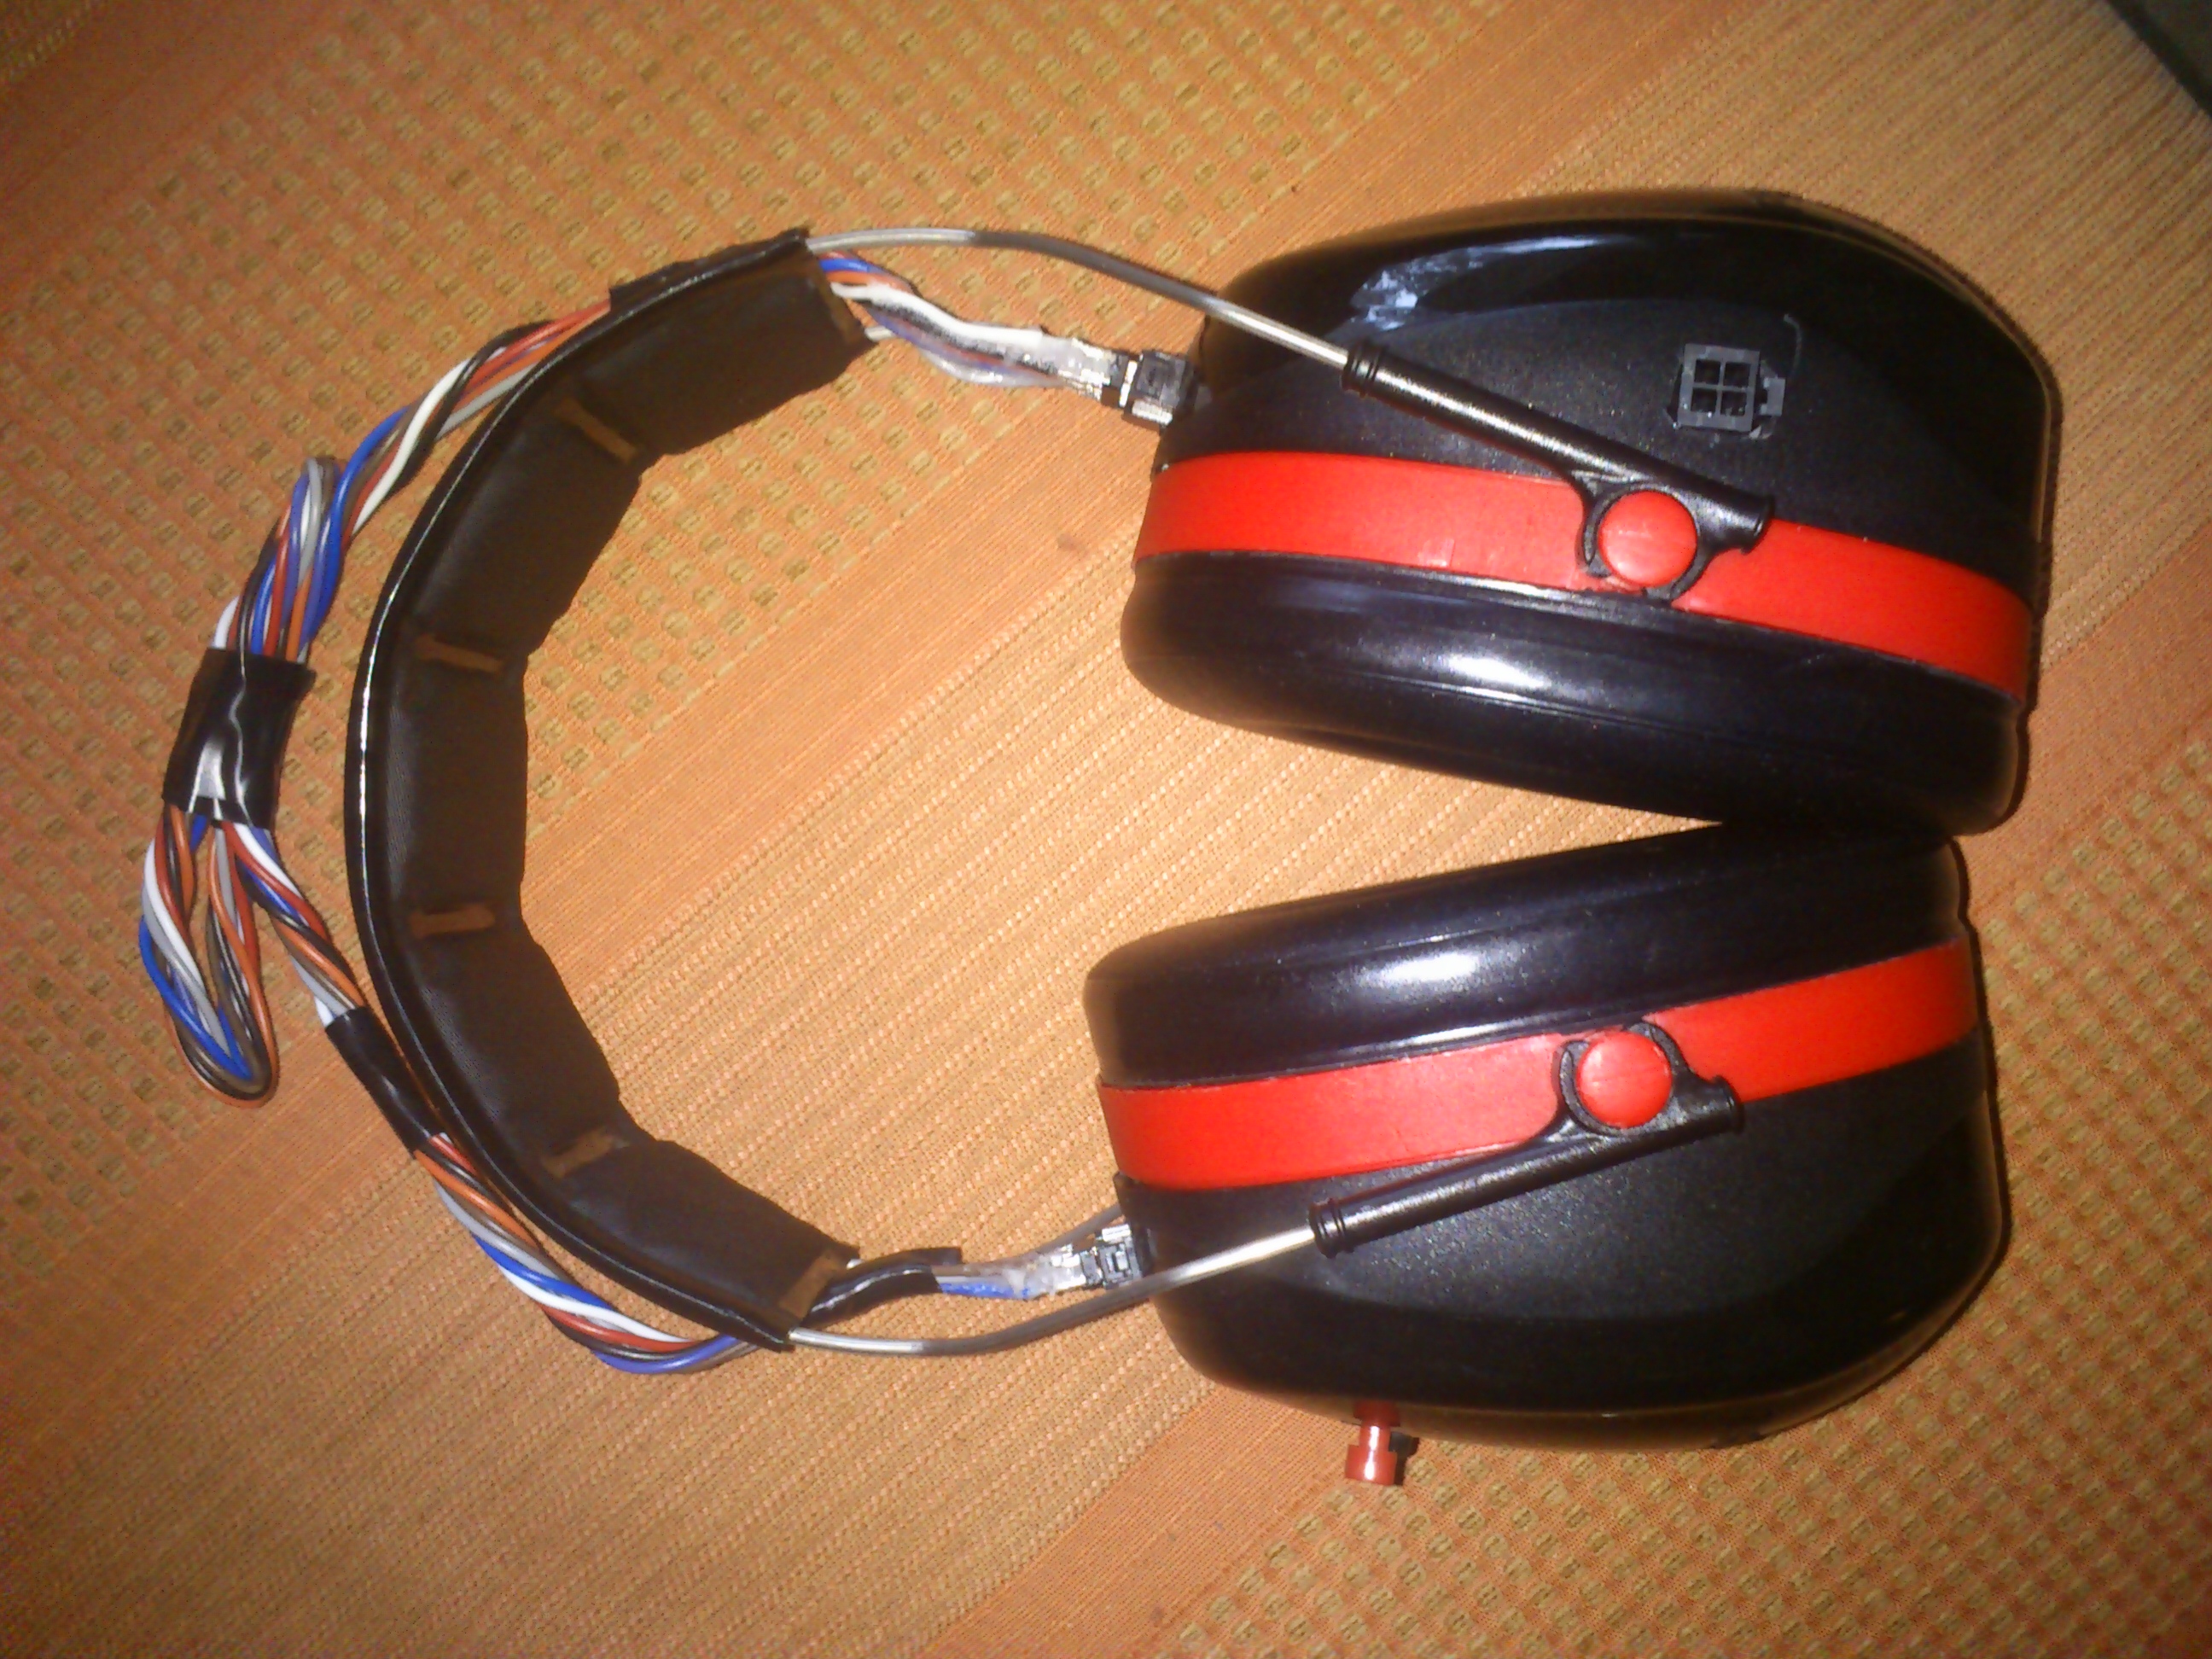 During the process I learned much about what should be taken into account when designing how to fit electronics into their casing. I made a lot of mistakes and hopefully won't make them next time. I'm thinking about making my own electronics for version two, using bluetooth or something as wireless solution, maybe trying to fit it into something smaller than these Peltors.
If you want any details just ask for them, I might make a more detailed post later too, about the wiring and such.
[ add comment ] ( 15545 views ) | permalink | print article |


 ( 3 / 2136 )
it's an real peltor headset!
but not wireless.. So mine will be better in some respect :)
[ add comment ] ( 673 views ) | permalink | print article |


 ( 3 / 74 )
Ok now, my headset is completely ruined I guess. I bought this logitech ClearChat wireless headset few years ago. After few months the left speaker started cutting. I took it apart and found out some wire had just broken. After replacement it was good as new again. But then, I had to do this like every six months or so. And then the frame started falling apart.. And now it has started cutting again. And it looks like this:
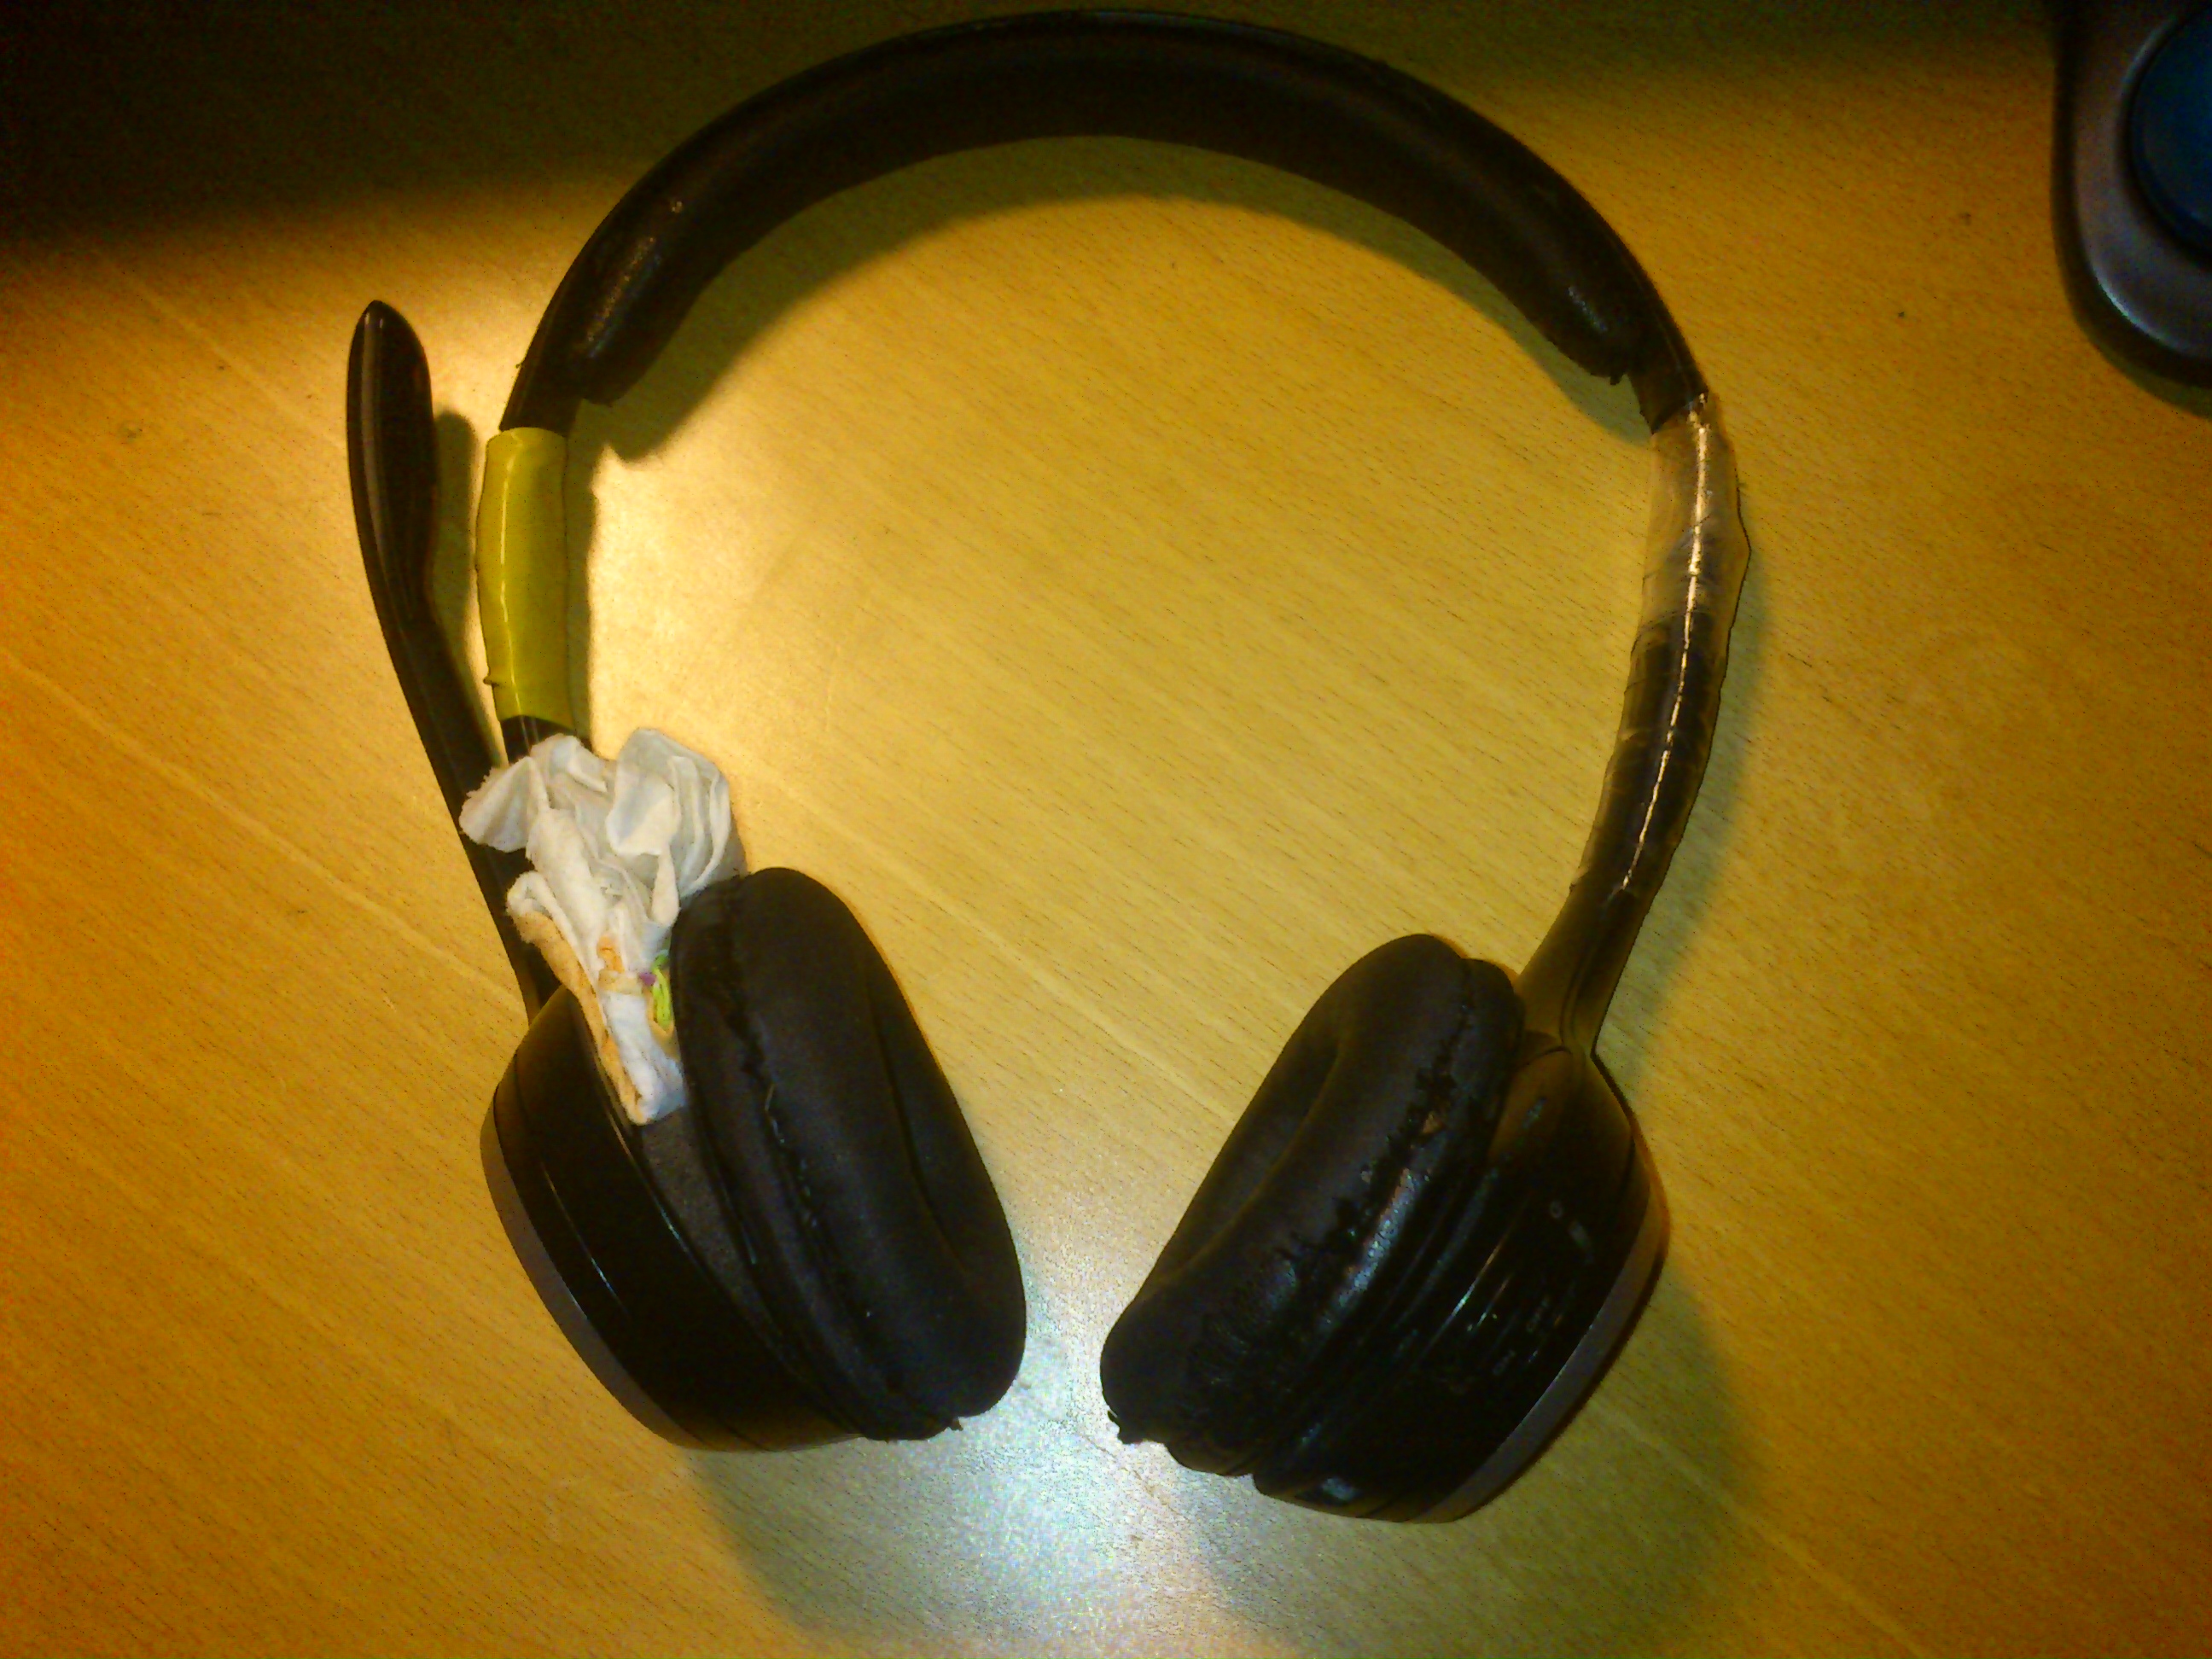
So, I can't push it much further, I have to buy new set I thought at first.. But since the electronics work quite nicely I thought it'd be a waste and started thinkin about fitting the insides to some cheap headset with better frame. But as one could expect, cheap stuff didn't have any good frames.. and then I happened to see some advertisement and I got it. It'd put the stuff inside these Peltor earcups!
Got them pretty cheap (20€) and now I got them:
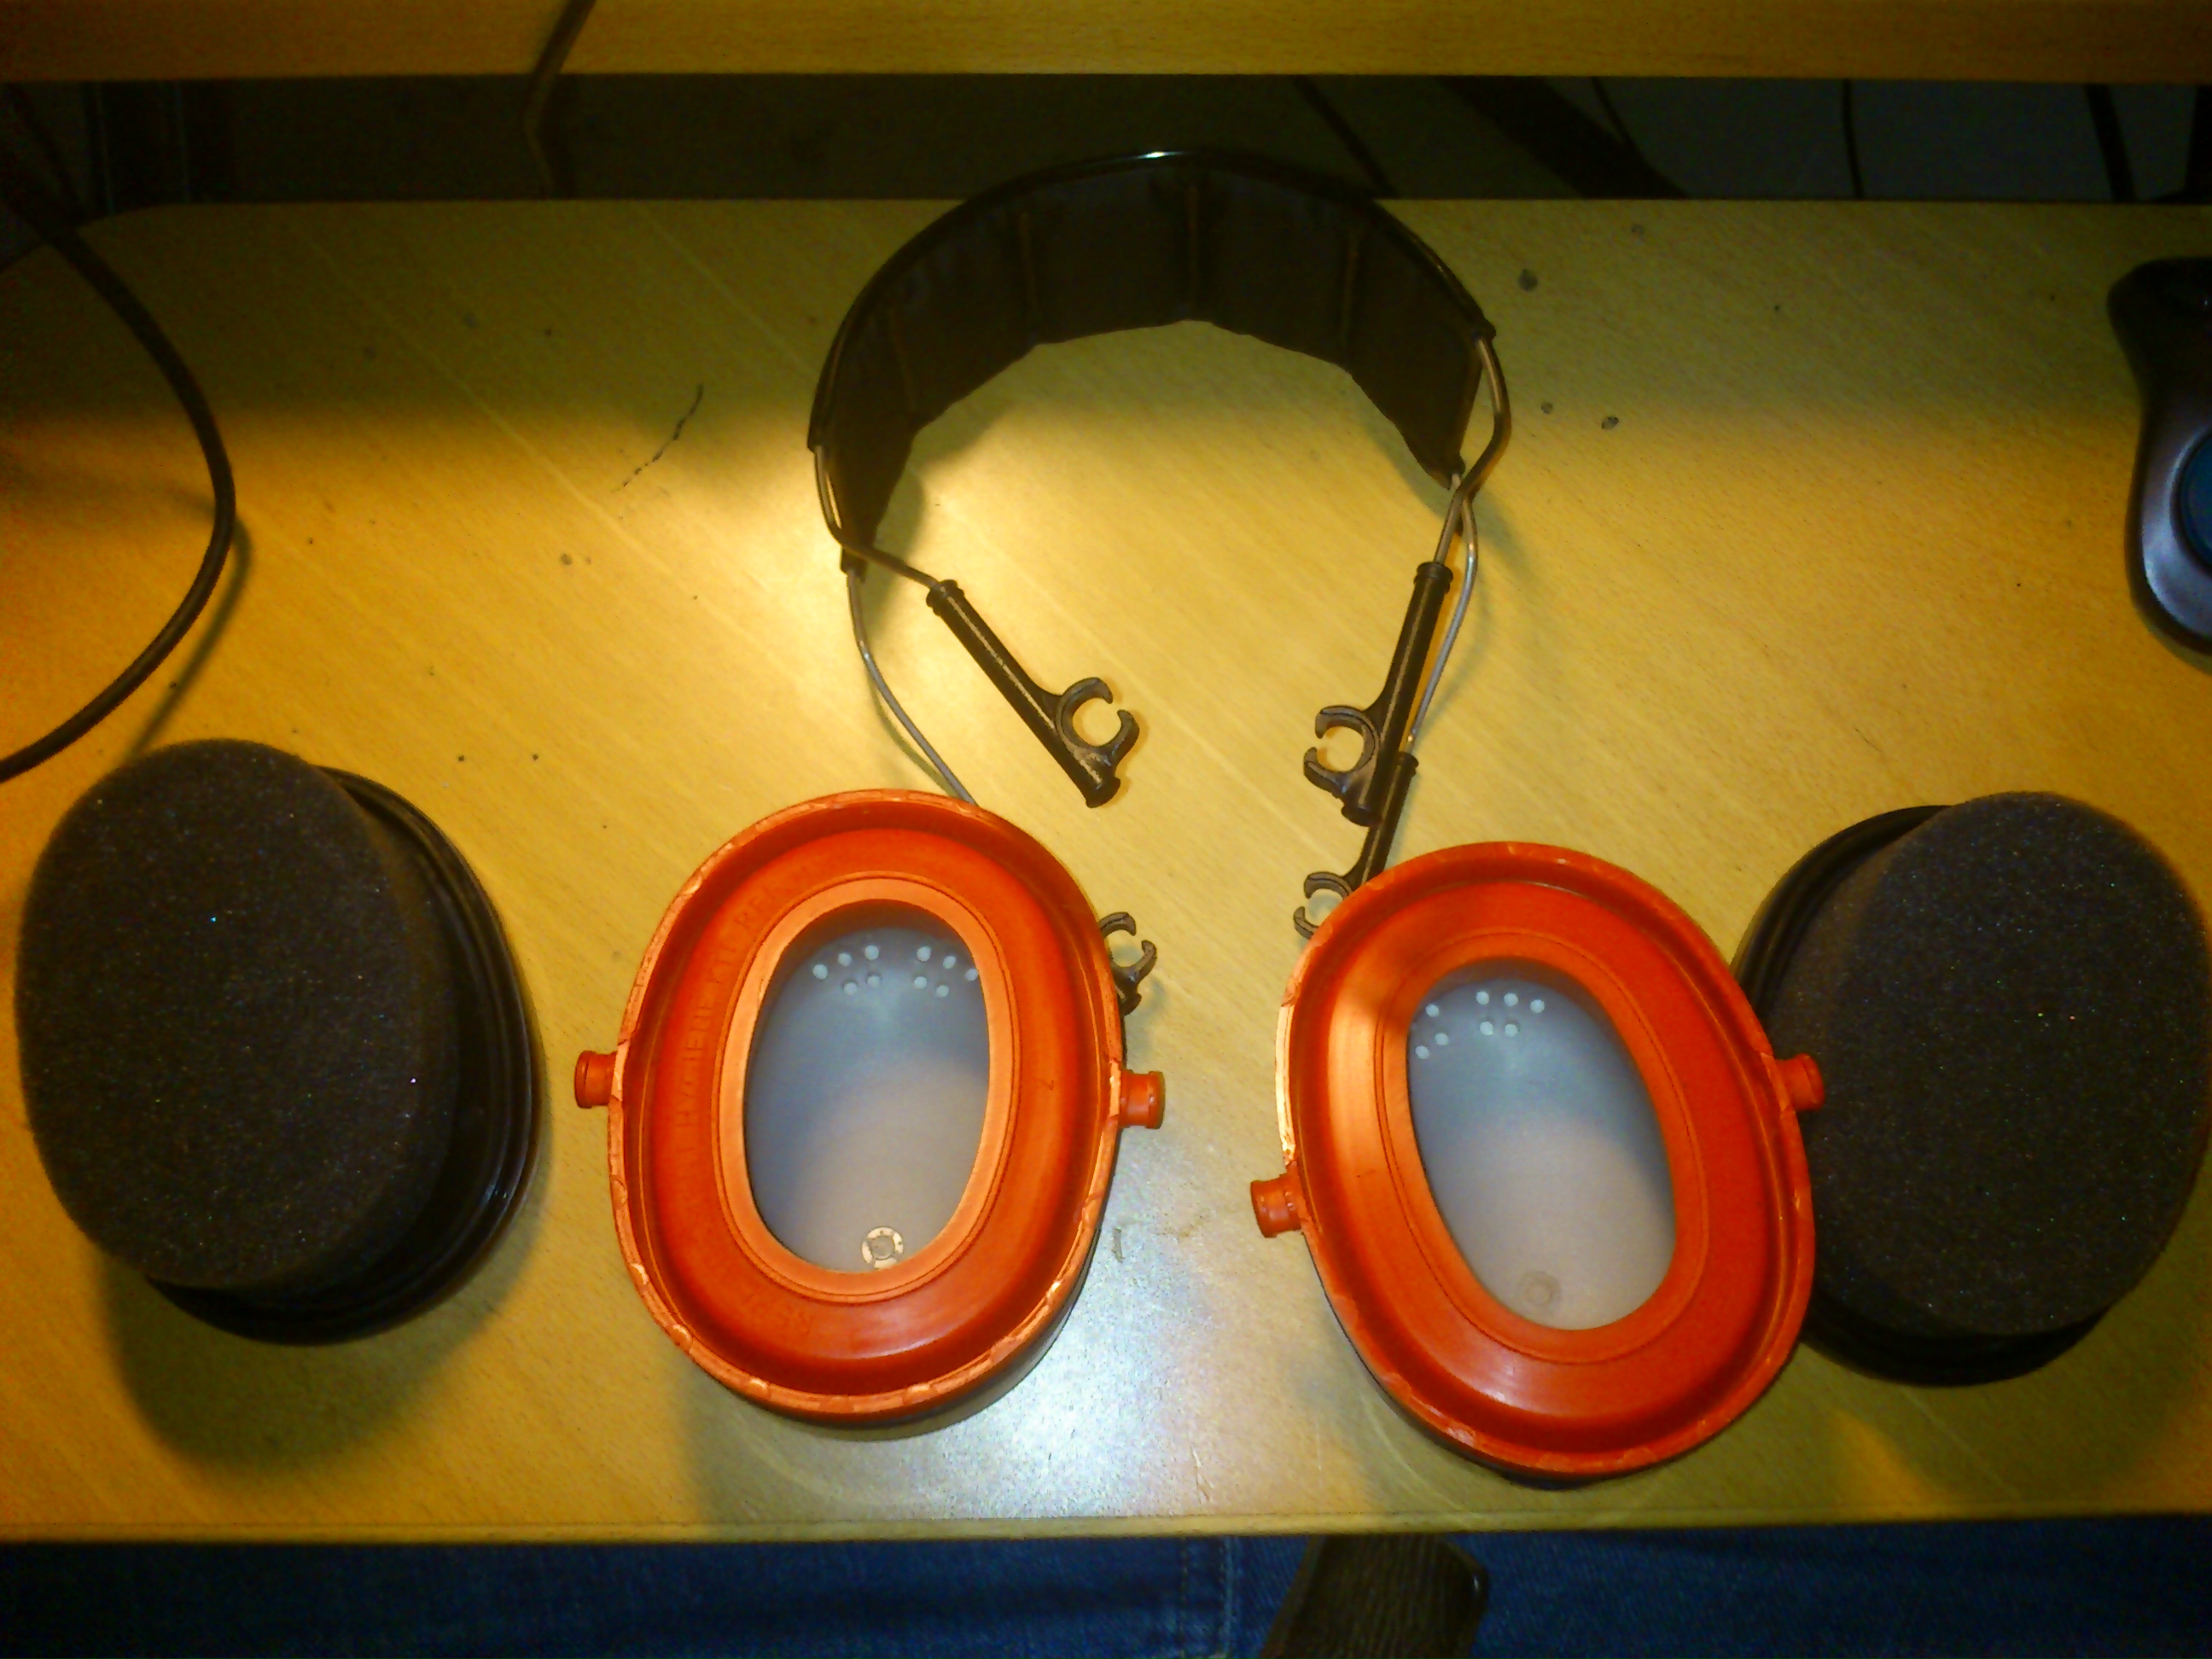
Now I have to plan out the holes, buttons and wiring.. and then it's fitting time!
[ add comment ] ( 1792 views ) | permalink | print article |


 ( 3 / 81 )
I was looking for a free and easy to use, preferably open source circuit diagram editor without any fancy features like simulating and such. I just wanted to draw some simple circuits for my report.
Well, I tried XCircuit, QElectrotech and so on..
and finally found CircuitLab.
I used to be vary about web applications, but this was exactly what I was searching for: Platform independent, intuitive and easy to use, perfect for drawing simple circuits!
If you're interested in electronics, try it out!
[ add comment ] ( 447 views ) | permalink | print article |


 ( 3 / 90 )
さっそぐですが、これです:
チキン 300グラム
ご飯 ~300グラム
玉ねぎ 2個
生クリーム 2デシ
生卵 3個
好きなスパイス (せめて潮、胡椒とか)
チキンをフライパンで焼いて、ご飯と玉ねぎ切って入れて焼いて、
結構に焼いたら、生クリーム入れて混ぜて、生卵入れて混ぜて、
火を弱くして結構な時間を焼いて、好きなスパイスを入れるものである。
今度投稿したら、写真もとってみますね!
ぜひ、作って食べてみてくださいね!
[ add comment ] ( 547 views ) | permalink | print article |


 ( 3 / 83 )
 Calendar


